How to Add A React Animated Background to Your Site Quickly
Written by
Silvia O'Dwyer
Post date
2023-06-24
Welcome! In this guide, we're going to be taking a look at how to add a React animated background to your site or web project. Adding a particle animation to your site shouldn't be too complex, since there's an excellent library to help you out, which is the tsParticles library! I'll be showing you how to install and add this to your project, and then include a cool particle effect.
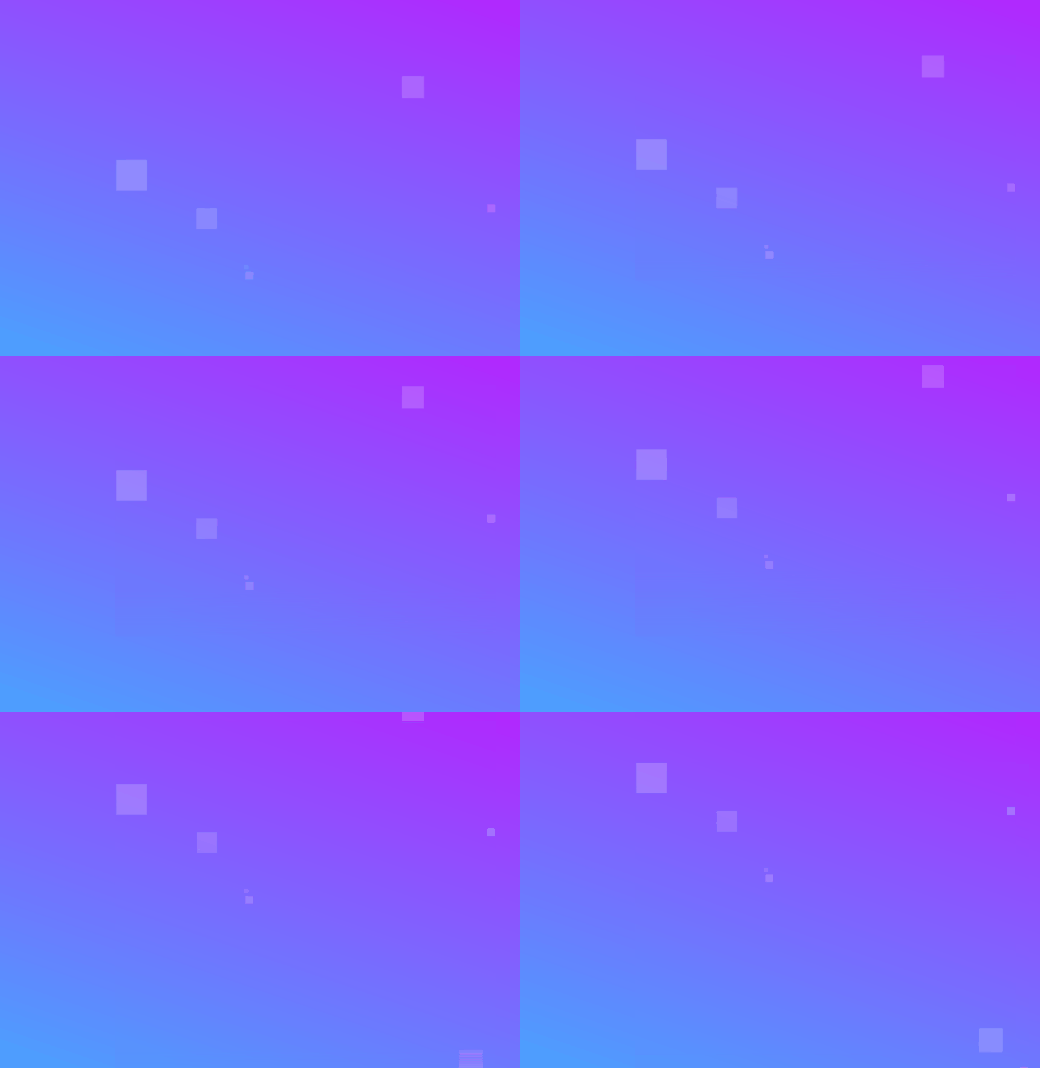
Here's the animated background we'll be creating, but with the tsParticles library, there are hundreds of effects to create and choose from. This is just one example of the type of background you could create:

Let's get started!
1. Install React tsParticles
Firstly, open your npm terminal and run the following command to install tsParticles for React:
npm install react-tsparticles tsparticles2. Import
Next up, it's time to add the imports required:
import { useCallback } from "react";
import Particles from "react-tsparticles";
import { loadFull } from "tsparticles";
3. Add TsParticles component
Initialize the library like so:
const particlesInit = useCallback(async engine => {
    await loadFull(engine);
  }, []);

const particlesLoaded = useCallback(async container => {
  await console.log(container);
}, []);
Then, just add the tsParticles component to your JSX (within the component you would like to include it in), like so:
<Particles
  id="tsparticles"
  init={particlesInit}
  loaded={particlesLoaded}
  options={{ "fullScreen": false, "background":{ "image":" linear-gradient(19deg, #21D4FD 0%, #B721FF 100%)" }, "particles":{ "number":{ "value":10, "density":{ "enable":true, "value_area":600 } }, "color":{ "value":"#ffffff" }, "shape": { "type": "square", "stroke":{ "width":0, "color":"#000000" }, "polygon":{ "nb_sides":5 } }, "opacity":{ "value":0.25, "random":true, "anim":{ "enable":false, "speed":1, "opacity_min":0.1, "sync":false } }, "size":{ "value":29, "random":true, "anim":{ "enable":false, "speed":2, "size_min":0.1, "sync":false } }, "line_linked":{ "enable":false, "distance":300, "color":"#ffffff", "opacity":0, "width":0 }, "move":{ "enable":true, "speed":0.5, "direction":"top", "straight":true, "out_mode":"out", "bounce":false, "attract":{ "enable":false, "rotateX":600, "rotateY":1200 } } }, "interactivity":{ "detect_on":"canvas", "events":{ "onhover":{ "enable":false, "mode":"repulse" }, "onclick":{ "enable":false, "mode":"push" }, "resize":true }, "modes":{ "grab":{ "distance":800, "line_linked":{ "opacity":1 } }, "bubble":{ "distance":790, "size":79, "duration":2, "opacity":0.8, "speed":3 }, "repulse":{ "distance":400, "duration":0.4 }, "push":{ "particles_nb":4 }, "remove":{ "particles_nb":2 } } }, "retina_detect":true}}
          />
Then, we just need to add some styling, so that the background takes up the height and width of the screen. If you'd like the background to be of a different size, you can adjust the values here:
#tsparticles {
  height: 100vh;
  width: 100vw;
}
And you're ready to go!
This is what it should look like:

You could create variations of this animation by updating the gradient background, or by adding waves to the end of the screen also.
There are lots of different types of backgrounds you could create, so I'd definitely recommend experimenting with different gradient backdrops, particle shapes and more.
If you'd like to see more background effects, I'd recommend taking a look at our background pack library, which has over 30 animated backgrounds to choose from.
If you have any comments or suggestions to improve this article, be sure to contact me.
Thanks very much for reading this guide, hopefully you've found it
useful. These types of animated backgrounds look truly stunning, and
would be great for so many use cases, from landing pages (could be used for Next.js also) to loading screens and so much more.
